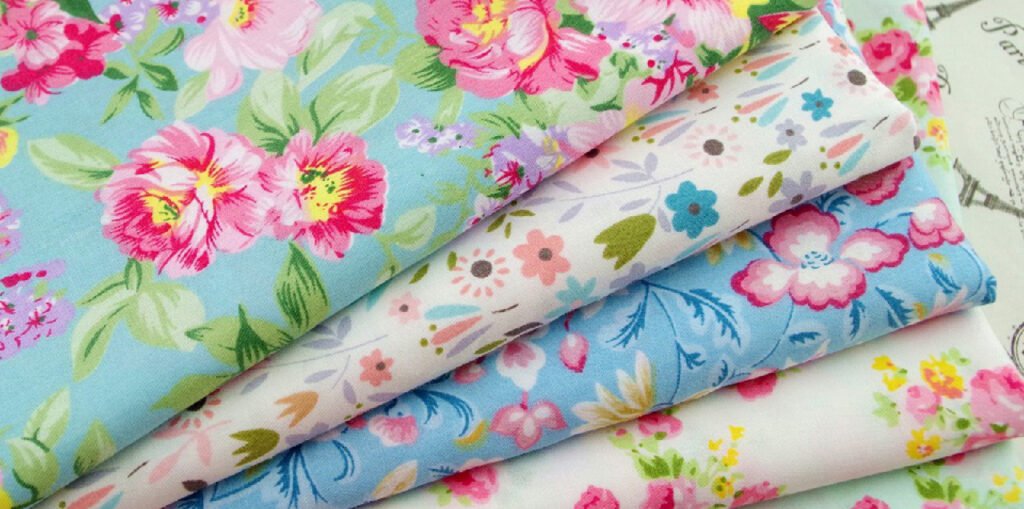
Have you ever imagined your artwork adorning a dress, a pillow, or even a tote bag? Custom fabric printing makes that dream a reality, whether you’re a seasoned designer or a curious beginner. But how do you bridge the gap between a digital sketch and a beautifully printed piece of fabric? Don’t worry—this guide has you covered! We’ll walk you through the entire process, from choosing printing techniques to prepping your design, picking the perfect fabric, and ensuring vibrant results. By the end, you’ll be ready to unleash your creativity on everything from fashion to home decor. Let’s dive into the world of custom fabric printing!
Step 1: Know Your Printing Techniques
Before you start, let’s get familiar with the tools of the trade. The two big players in custom fabric printing are digital printing and screen printing—but what’s the difference?
- Digital Printing: Think of it like a high-tech inkjet printer for fabric. It’s perfect for intricate, multi-colored designs and small batches, delivering photorealistic detail. The catch? It can get pricey for large orders.
- Screen Printing: This classic method uses mesh screens to apply ink, excelling at bold, solid colors and big runs. It’s cost-effective for bulk but less ideal for complex imagery.
So, how do you choose? It depends on your project. A detailed floral pattern might scream for digital printing, while a punchy logo could thrive with screen printing. Fabric type matters too—cotton loves both, but synthetics often lean toward digital. Understanding these options is your first step to nailing the perfect print.
Step 2: Prep Your Design Like a Pro
Got your technique in mind? Great—now let’s get that design ready for fabric. Here’s how:
- Software: Pros swear by Adobe Photoshop or Illustrator, but freebies like GIMP or Inkscape work for beginners. You’ll need something that handles high-res images or vectors.
- Color: Stick to RGB mode (not CMYK) for vibrant results. Colors can shift from screen to fabric, so test a swatch first to avoid surprises.
- Resolution: Aim for at least 150 DPI at your final print size. Printing a yard? Your file will be big—and that’s a good thing!
- Seamless Patterns: Want a repeating design? Use your software’s “offset” tool to spot and fix seams. Even tiny flaws show up on fabric.
Save your masterpiece as a TIFF or PNG to keep every detail crisp, and double-check dimensions before sending it off. With these steps, your design’s ready to shine.
Step 3: Pick the Perfect Fabric
Your design’s prepped—now it needs the right canvas. How do you choose?
- Purpose: What’s the end goal? Lightweight cotton voile flows beautifully for dresses, while sturdy canvas holds up for bags.
- Material: Natural fibers like cotton and silk soak up ink for rich colors, but synthetics like polyester offer durability. Blends can give you the best of both.
- Texture: Smooth satin highlights fine details; textured linen adds a rustic vibe. Order swatches to feel the difference.
Think about care, too—will it be washed often? Does it need stretch? The right fabric doesn’t just carry your design—it elevates it.
Step 4: Find a Printing Partner
Time to bring your vision to life! Choosing a reliable printing service is key. Start by researching online—look for companies specializing in fabric printing with solid reviews and portfolios. Here’s what to check:
- High-resolution printing and accurate colors
- A range of fabric options
- Reasonable turnaround times
- Flexible order sizes
- Responsive customer support
Reach out with questions—good printers love to help. And don’t skip the sample! A small test print lets you tweak colors and quality before going big. Price matters, but don’t skimp on quality—sometimes a little extra pays off in stunning results.
Step 5: Nail Color and Quality
You’ve got your printer—now let’s ensure your fabric pops. Color accuracy can be tricky, so:
- Calibrate Your Screen: Use a colorimeter for consistency.
- Mind the Gamut: Fabric has a narrower color range than screens. Stick to your printer’s RGB chart.
- Talk to Your Printer: Share Pantone codes or physical swatches for precision.
For top-notch quality, use high-res files (no JPEGs!), test repeats, and adjust saturation based on fabric type—cotton might need a boost. A swatch run seals the deal.
Step 6: Care for Your Creation
Your fabric’s printed—now keep it gorgeous! Follow these care tips:
- Check Instructions: Your printer’s advice is gold. Some prints need 24-48 hours to cure.
- Wash Smart: Go gentle—cool water, mild detergent, no bleach. Hand wash delicates.
- Dry Right: Air drying is safest; use low heat if tumbling. Flip garments inside out to protect prints.
- Avoid Issues: Wash separately at first to catch any bleeding—add a color catcher for peace of mind.
With a little TLC, your custom prints will stay vibrant for years.
Conclusion: Your Fabric Adventure Begins!
And there you have it—the full roadmap to turning your designs into high-quality custom fabric prints! From picking a printing method to prepping your artwork, choosing fabric, partnering with a printer, and caring for the final product, you’re now armed with the know-how to create something amazing.
So, what’s your first project? A bold dress? A quirky cushion? Whatever it is, don’t be afraid to experiment—every print is a chance to learn and grow. Got a design idea brewing? Tell us about it in the comments—we can’t wait to see what you’ll create next!
